
You want a crawl space that stays dry and smells fresh, not one that causes mold or high energy bills. Compare the kinds of vapor barriers, seam methods, and how they attach to the floor and walls so you pick a solution that fits your budget and long-term needs.
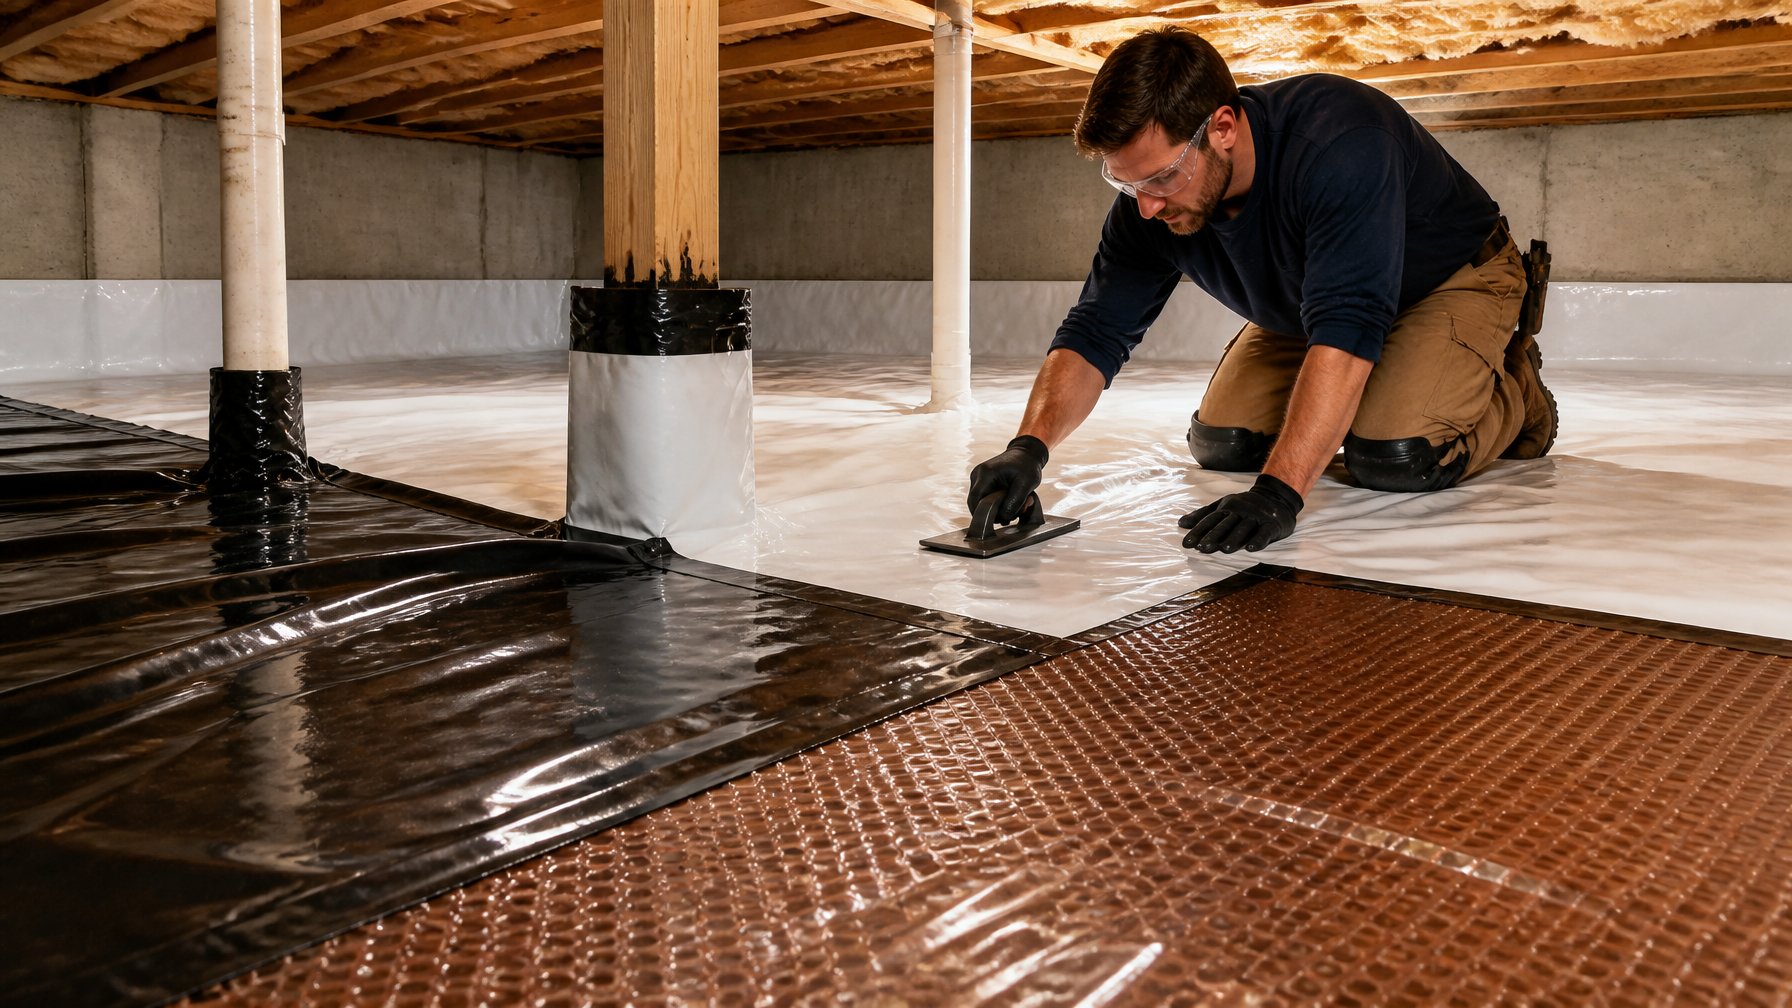
This article walks through the main options for sealing a crawl space and points out what matters when comparing materials and details. It helps homeowners weigh tradeoffs like cost versus durability, moisture control versus radon protection, and simple repairs versus full encapsulation.
1) 6-mil polyethylene vapor barrier (single layer)
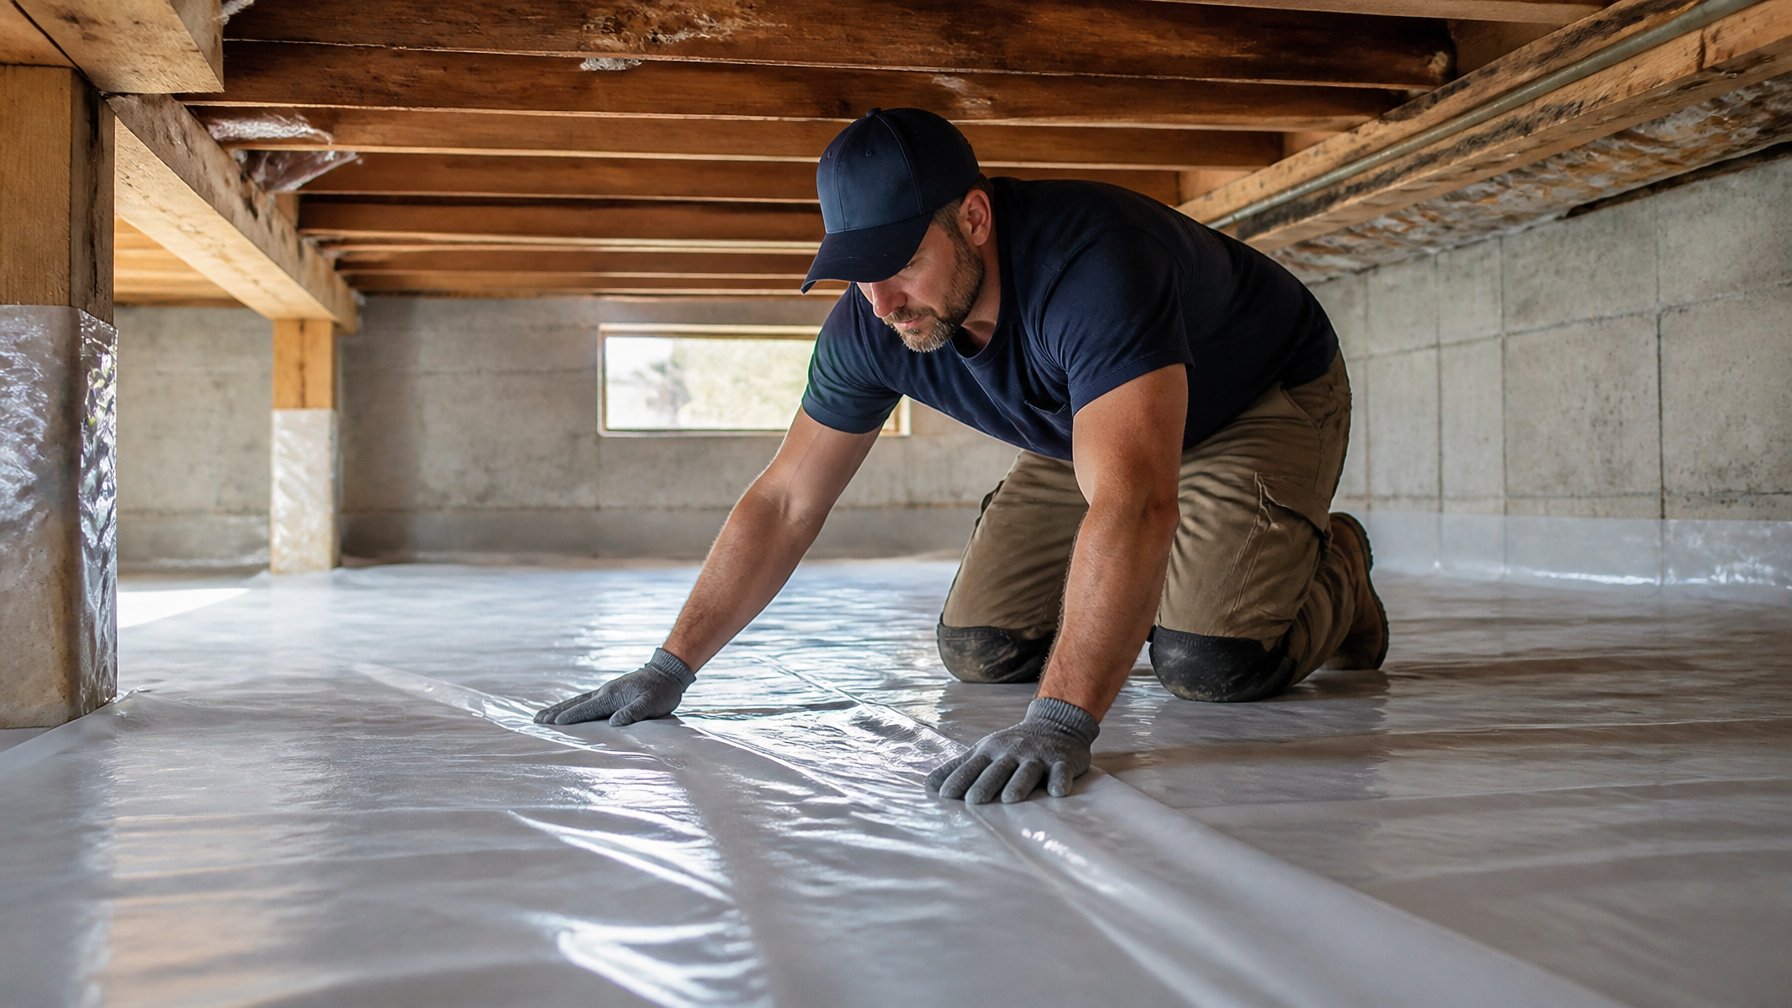
A 6-mil polyethylene sheet is the most common single-layer vapor barrier. Homeowners should compare material thickness, seam overlap, and tear resistance. Ask if the product meets local building codes and if seams require tape or heat welding.
Weigh cost versus durability. Six-mil is low cost and easy to install, but it rips easier than heavier options. They should ask about expected lifespan and whether a thicker or double-layer option is better for their climate.
Check installation details. Compare seam sealing methods and how the barrier is fastened to foundation walls. For more guidance on crawl space sealing and alternatives, visit Crawl Space Repair.
2) 12-mil reinforced polyethylene vapor barrier (taped seams)
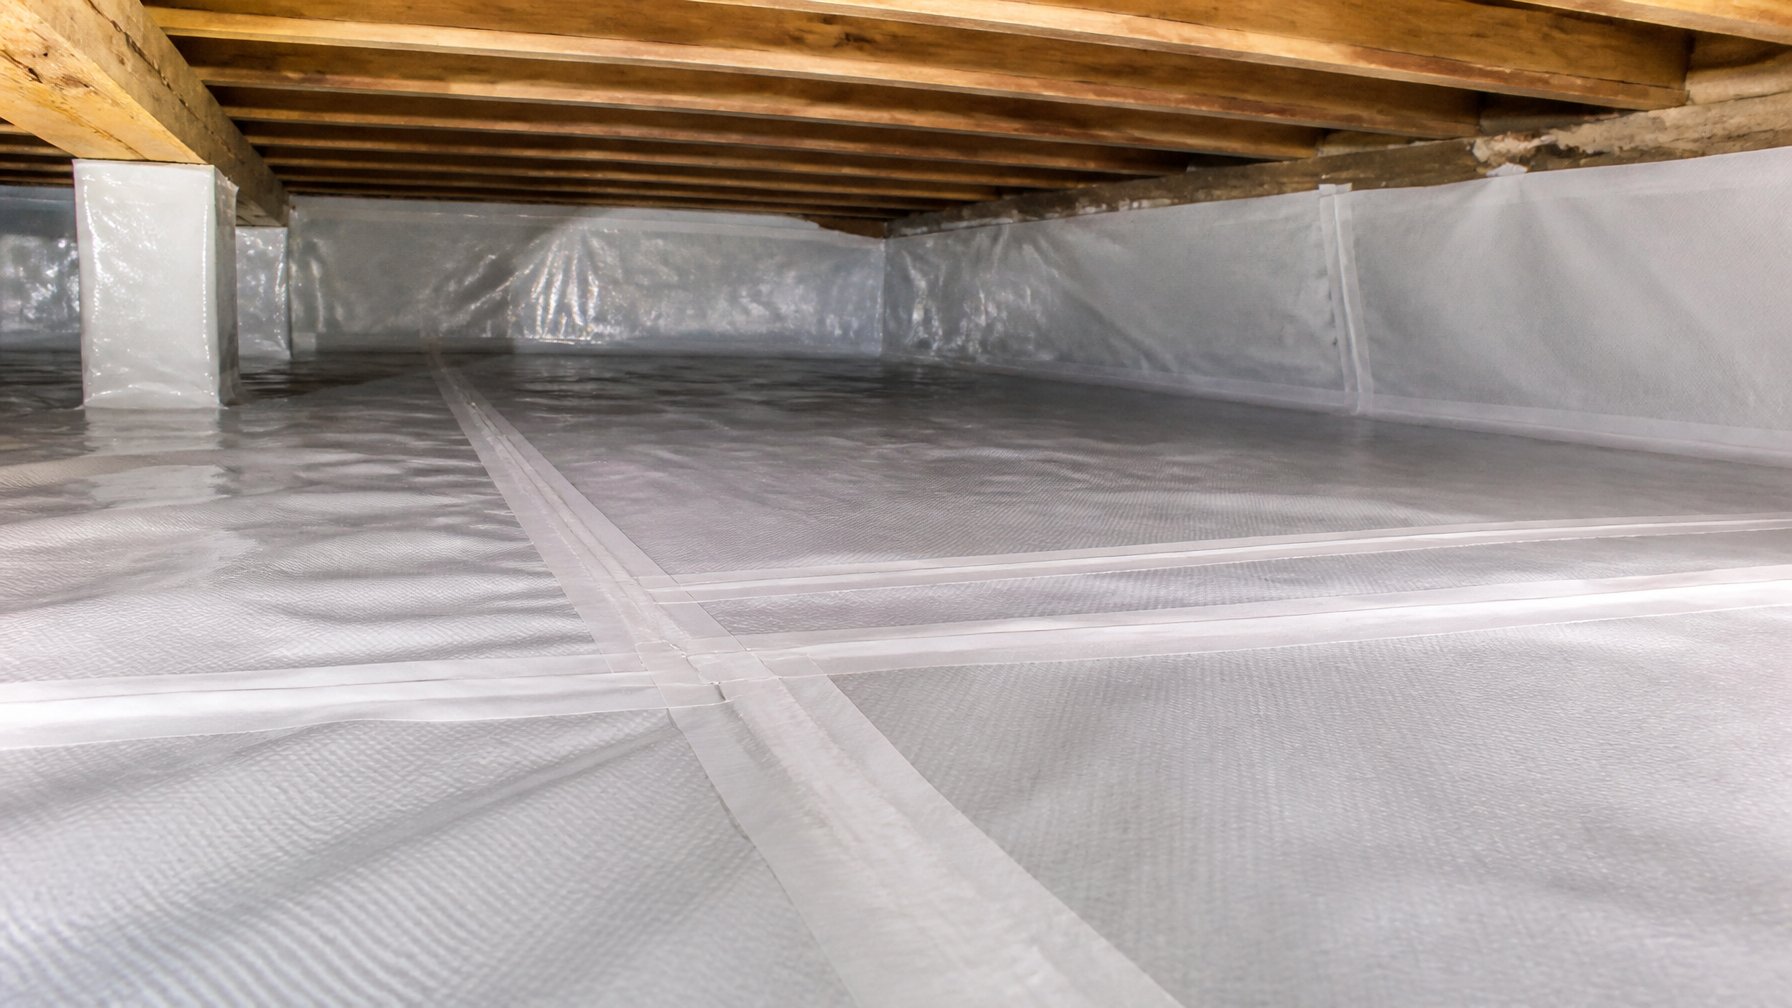
A 12-mil reinforced polyethylene sheet is thicker and tougher than basic film. Homeowners should compare puncture resistance and UV stability, and ask if the product meets local building codes.
Taped seams reduce air and moisture paths. They should check tape type and adhesive strength, and confirm a trained installer will clean and dry surfaces before taping.
Consider tradeoffs: heavier material costs more but lasts longer and resists damage from debris and pets. Ask about warranty length and what it covers.
For installation details and related services, see crawl space encapsulation.
3) Radon-resistant vapor barrier with integrated gas venting
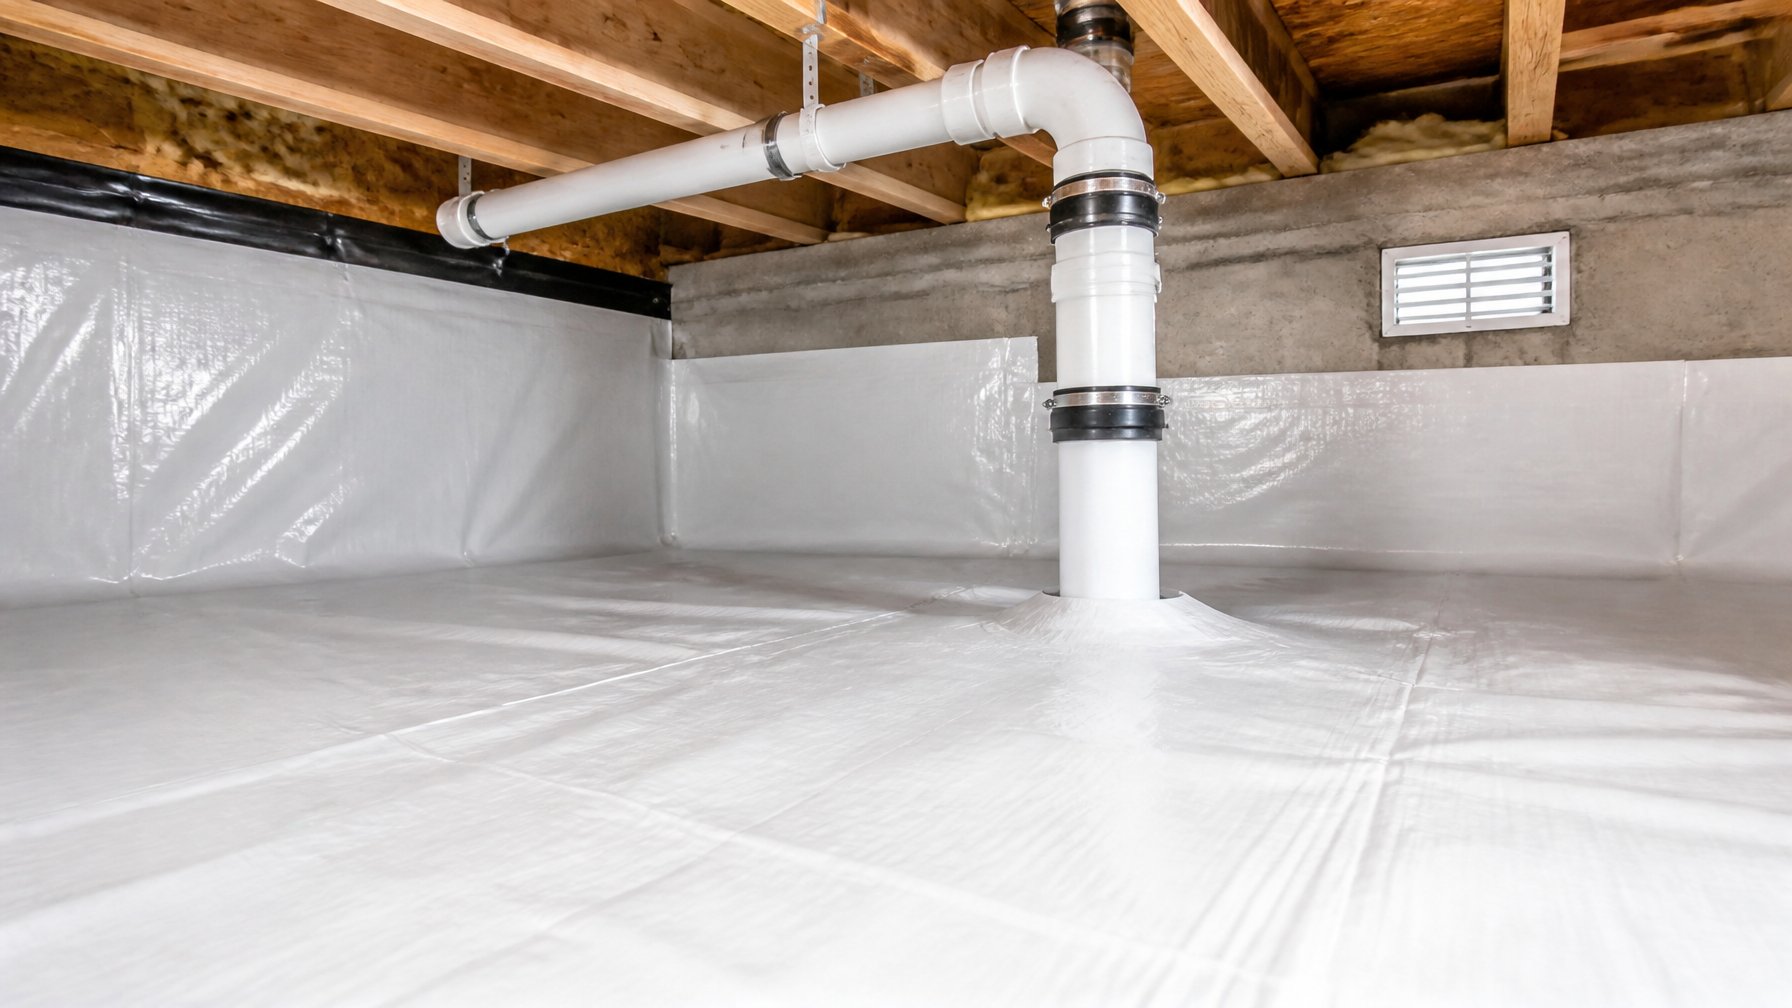
Compare how the barrier handles radon gas and moisture together. Ask whether the material includes an embedded venting channel or ports that let radon move to a collection point. Weigh higher cost against simpler future mitigation needs.
Check material permeability and installation details. Ask the installer if seams, corners, and floor-to-wall junctions are sealed to prevent gas from bypassing the barrier. Trade off a harder-to-seal product for one with clearer vent paths.
Consider connection to a radon stack or passive venting. Ask whether the barrier’s venting integrates with an active radon system later, or if retrofitting will need cutting and resealing. They should explain how the vent routes to the outdoors.
See examples of similar projects and materials on the homepage.
4) Closed-cell spray foam rim-joist seal details
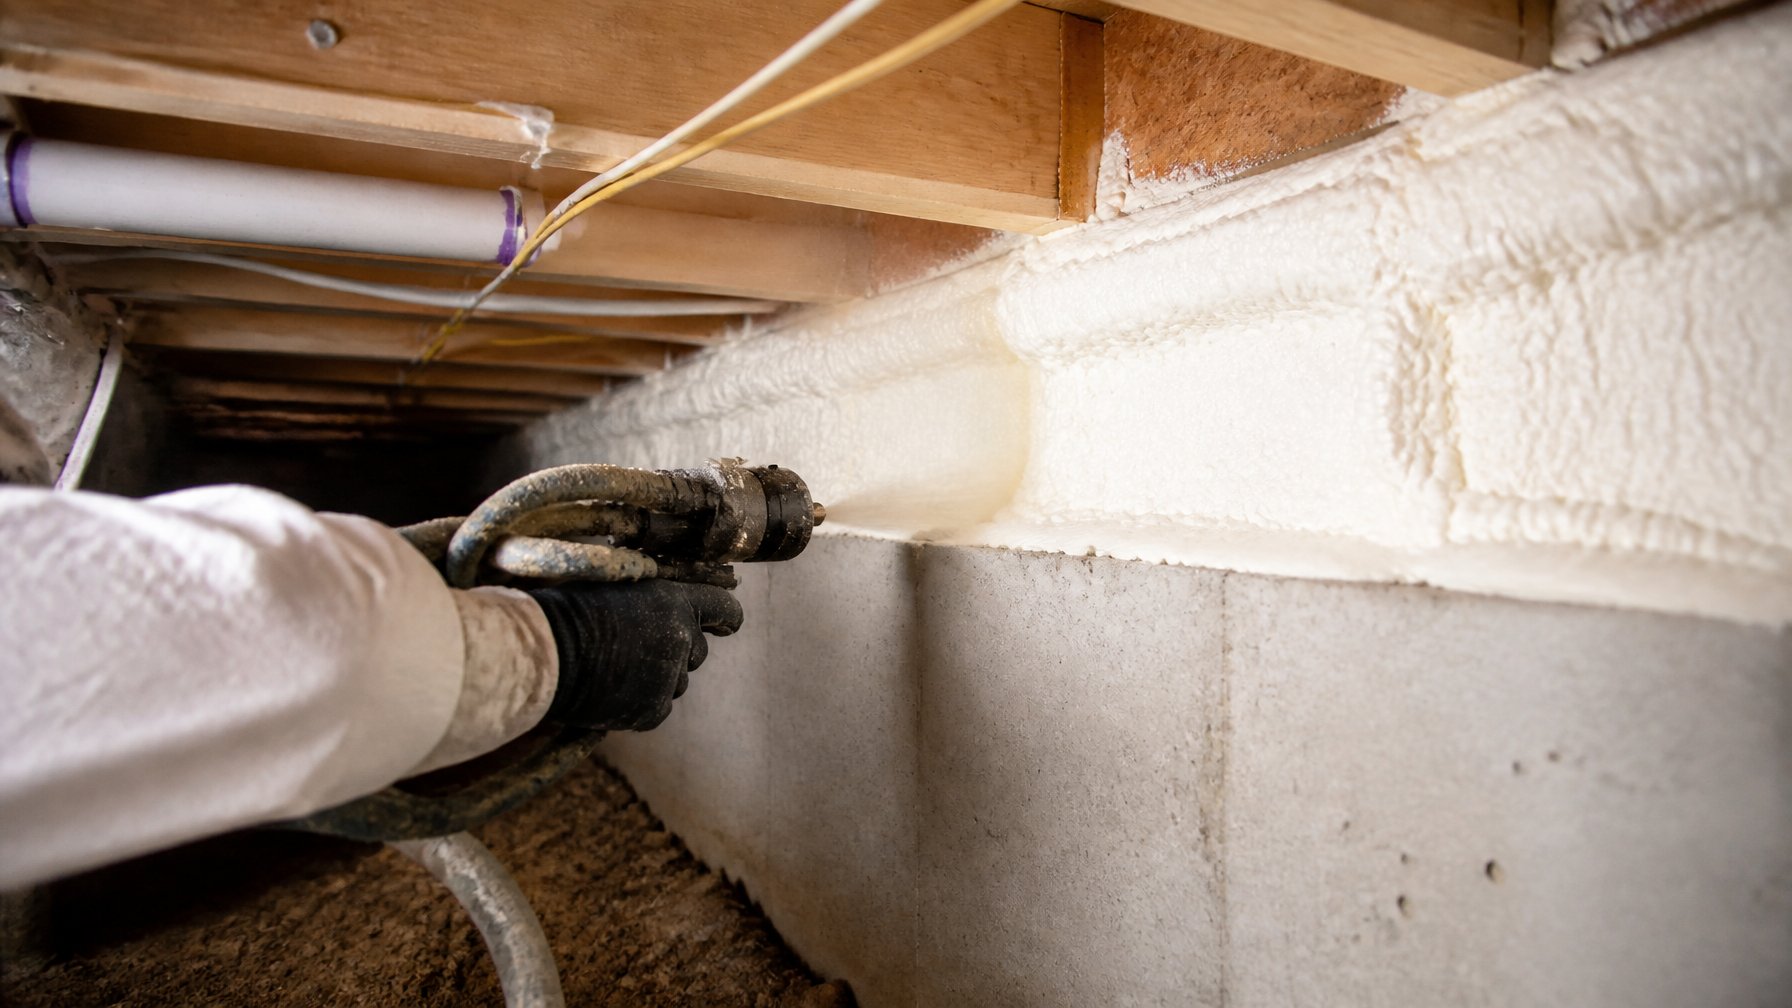
They should compare foam thickness and R-value claims. Ask what R-value the installer will achieve at the rim joist and whether they will spray full depth to the band joist. Thicker foam ups air sealing and insulation but costs more.
They should ask about substrate prep and moisture issues. The wood must be dry and free of rot; installers should remove loose paint and debris. If water intrusion exists, fix it before sealing.
They should check ventilation and vapor control tradeoffs. Closed-cell foam acts as a vapor retarder and can alter drying paths, so ask if the plan changes crawl space ventilation or drainage.
They should confirm fire and finish requirements. Many codes want a thermal barrier or intumescent coating over exposed foam; ask who supplies and applies that coating. Homeowners can learn more on the homepage.
5) Perimeter drainage channel and vapor barrier overlap
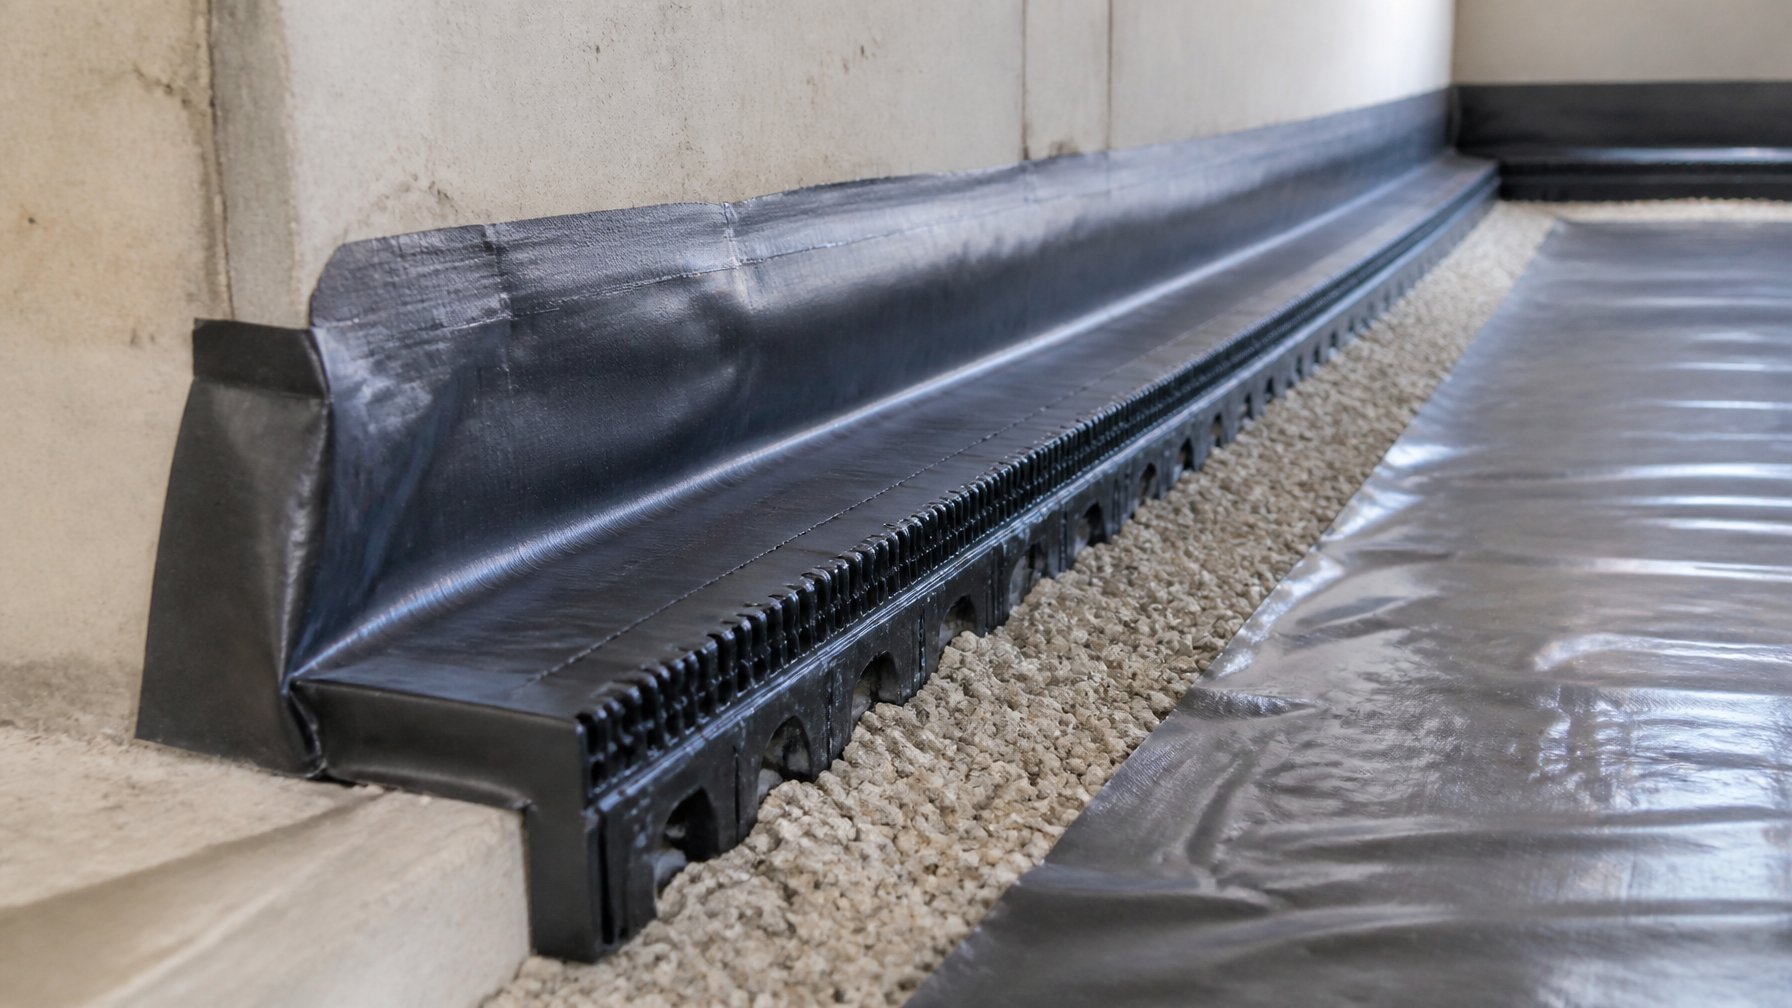
They should compare how the vapor barrier ties into the perimeter drainage channel. Ask whether the membrane laps into the channel or is fastened above it. Lapping into the channel prevents water from getting under the liner, but can make future channel cleaning harder.
Homeowners should check overlap width and seal method. A 6–12 inch overlap with mechanical fasteners and sealant is common; some systems use welded seams. Tradeoffs include easier repairs versus better water control.
Ask about inspection access and material compatibility. The channel and liner must work together without trapping moisture or causing corrosion. For more on crawl space waterproofing options, see Basement & Crawl Space Services.
6) Class I vapor barrier with sealed utility penetrations
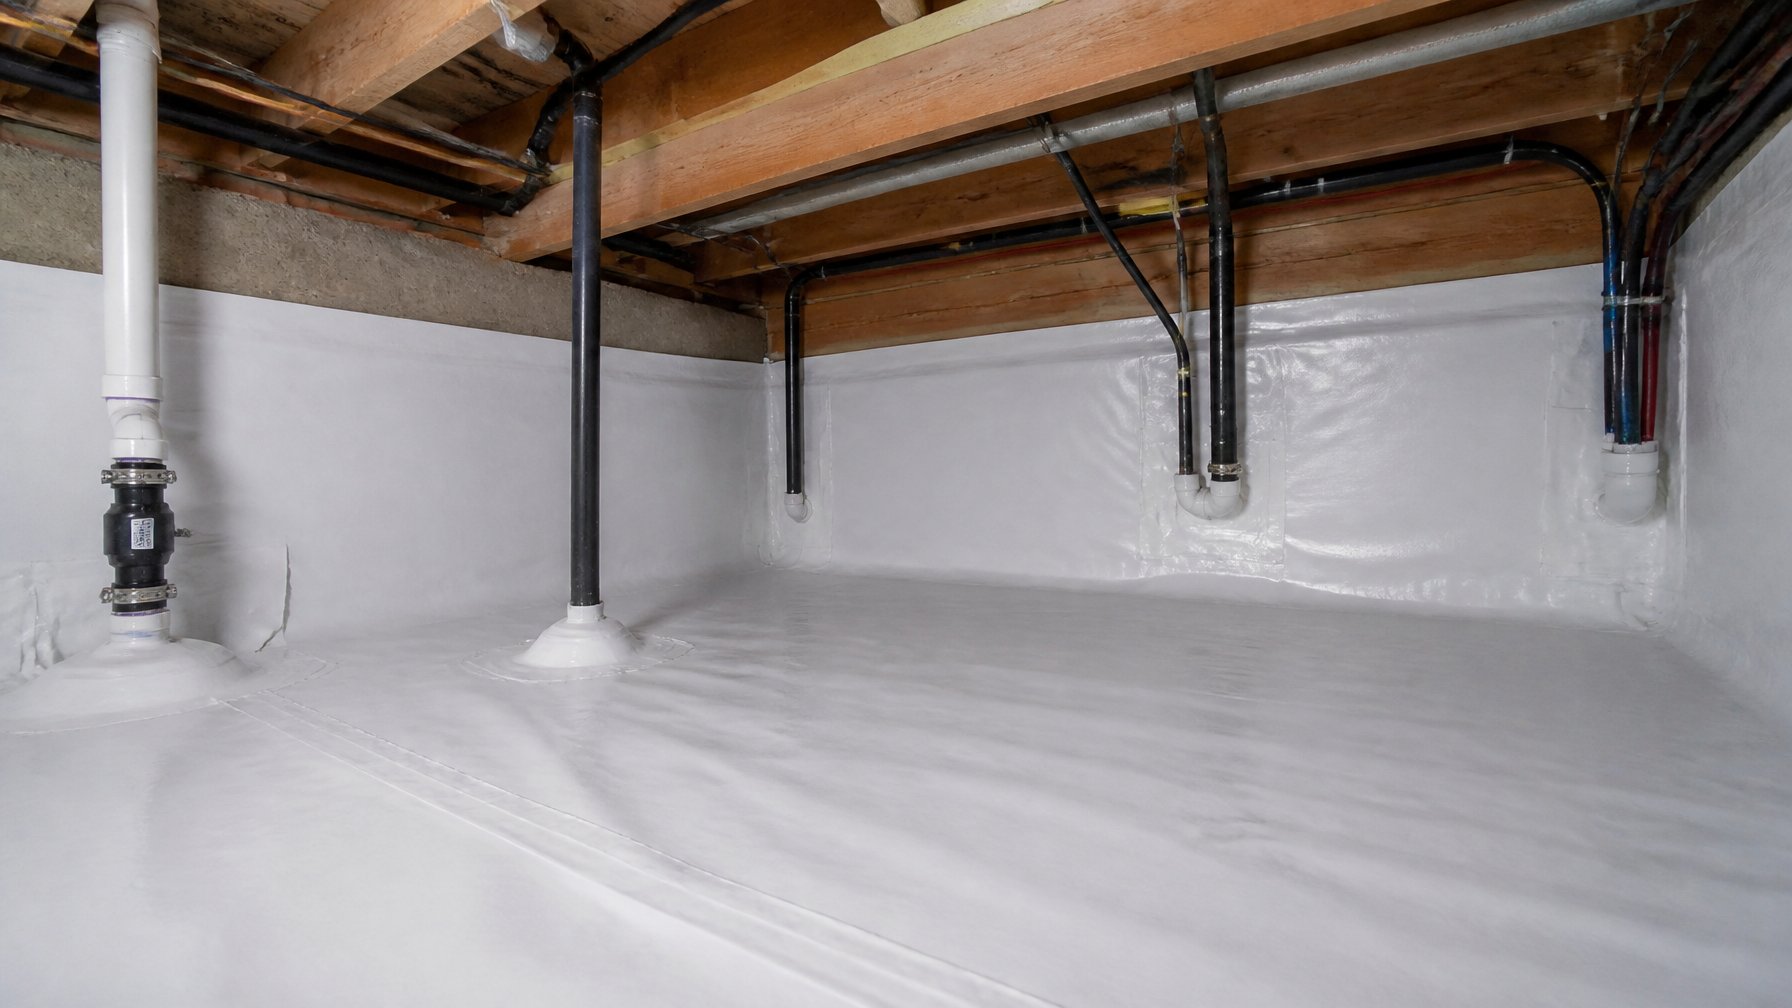
Compare the material grade and seams. Homeowners should ask whether the installer uses a Class I polyethylene liner and heat-welds or tapes all seams. Seams fail more often than the sheet itself, so sealing method matters.
Check how utility lines are handled. They should be wrapped with the barrier and sealed at the penetration with boot collars or high-strength tape. Ask for photos of the detail or a diagram.
Consider access vs. airtightness tradeoffs. Fully sealed penetrations reduce moisture and radon but make future access harder. Homeowners can request removable access panels where needed.
Think about long-term durability and maintenance. Ask what adhesive or tape is used and whether the material is UV-stable if brief exposure is likely. For general service info, see basement and crawl space waterproofing.
7) Seams sealed with butyl tape vs. HVAC-grade foil tape
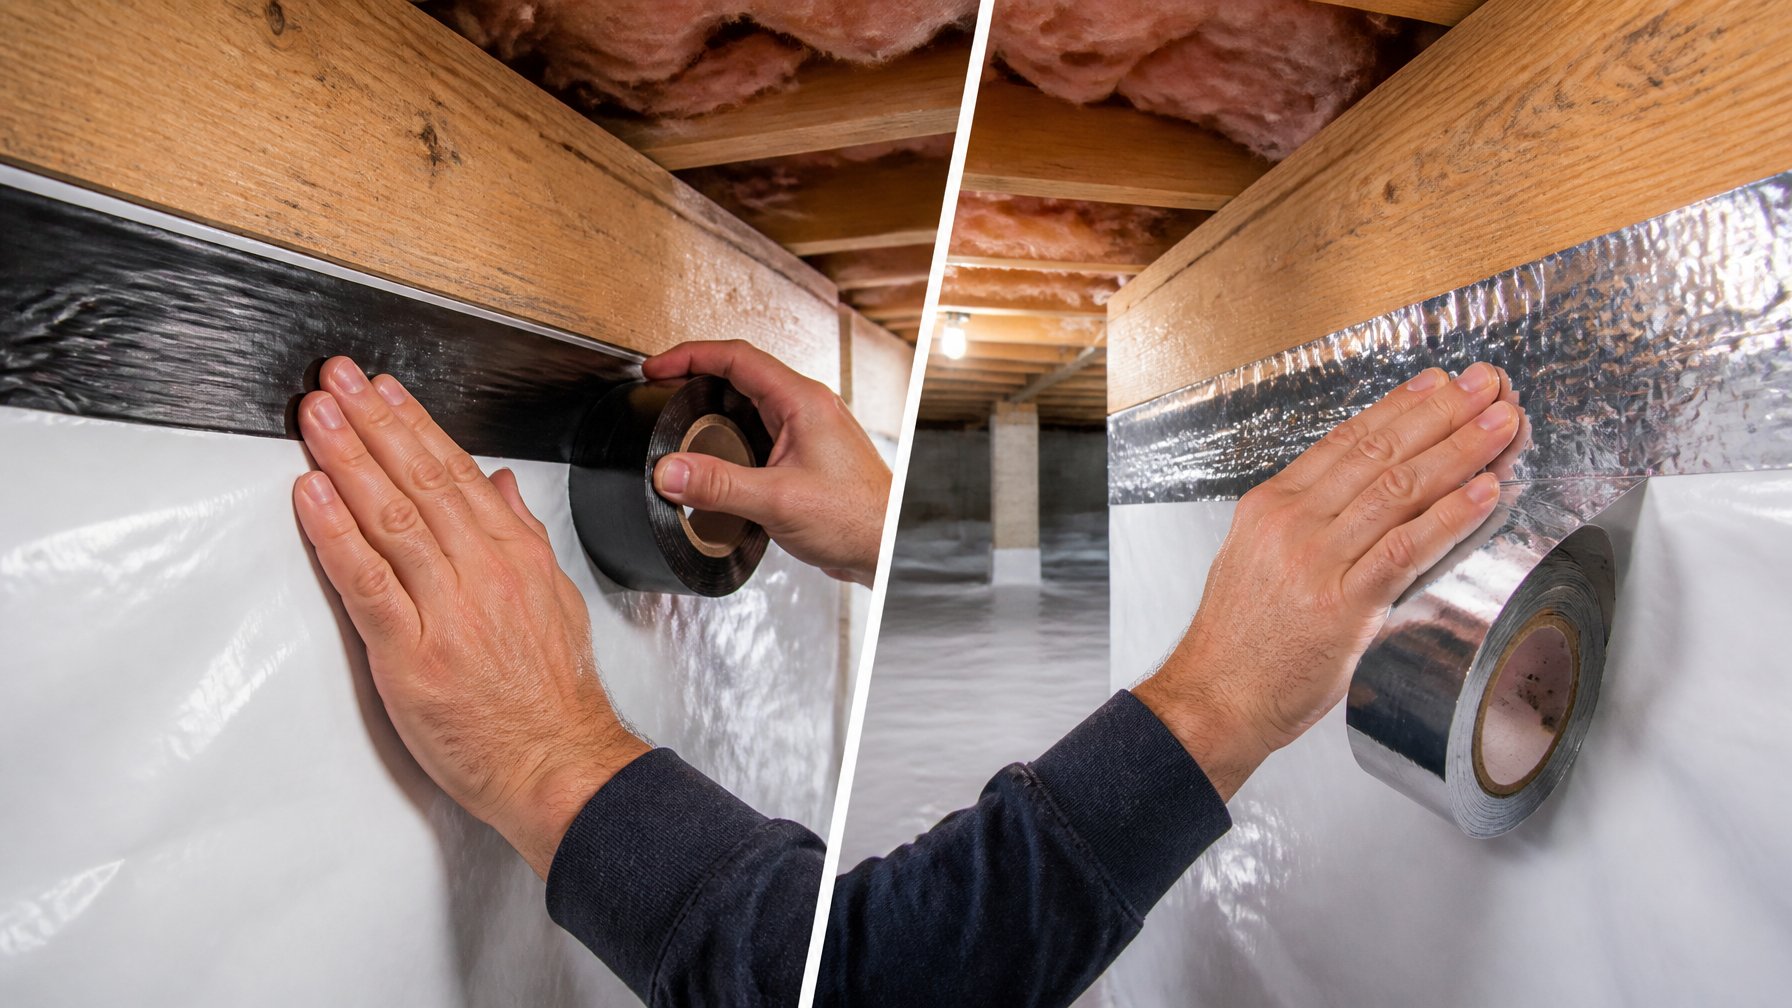
They should compare adhesion and longevity. Butyl tape sticks well to plastic and stays flexible, which helps with shifting ground or temperature changes. Ask which tape the installer uses and why it fits the chosen liner material.
They should check vapor and moisture resistance. Butyl resists moisture and forms a thicker seal, while HVAC foil tape can be thinner and may lift over time in damp conditions. Tradeoff: foil looks neat but may need replacement sooner.
They should confirm compatibility with the liner and with adhesives. Some foil tapes won’t bond to polyethylene or textured liners. Ask for a test patch before full application to avoid failures.
They should weigh cost and labor. Butyl tape costs more but can save on repairs later; foil is cheaper and faster to install. For more sealing tips and crawl space services visit the homepage.
8) Vapor barrier anchored with HD polyethylene cap strips
They should compare cap strip width and material thickness. Thicker HD polyethylene strips and wider caps hold the liner more securely and resist tearing, but they cost more and may need stronger fasteners.
Ask about the fastening method and spacing. Nails, screws, or concrete anchors change installation speed and wall damage risk. Closer spacing gives a tighter seal but takes longer to install.
Check how the strip meets walls and piers. Proper overlap and caulking keep moisture out; poor seams create gaps. Homeowners should ask for a demonstration of seam sealing.
Weigh repairability versus permanence. Removable strips make future repairs easier, while permanent fasteners can give a longer-lasting seal. For more info, see crawl space encapsulation.